



Points to bear in mind regarding drip irrigation systems
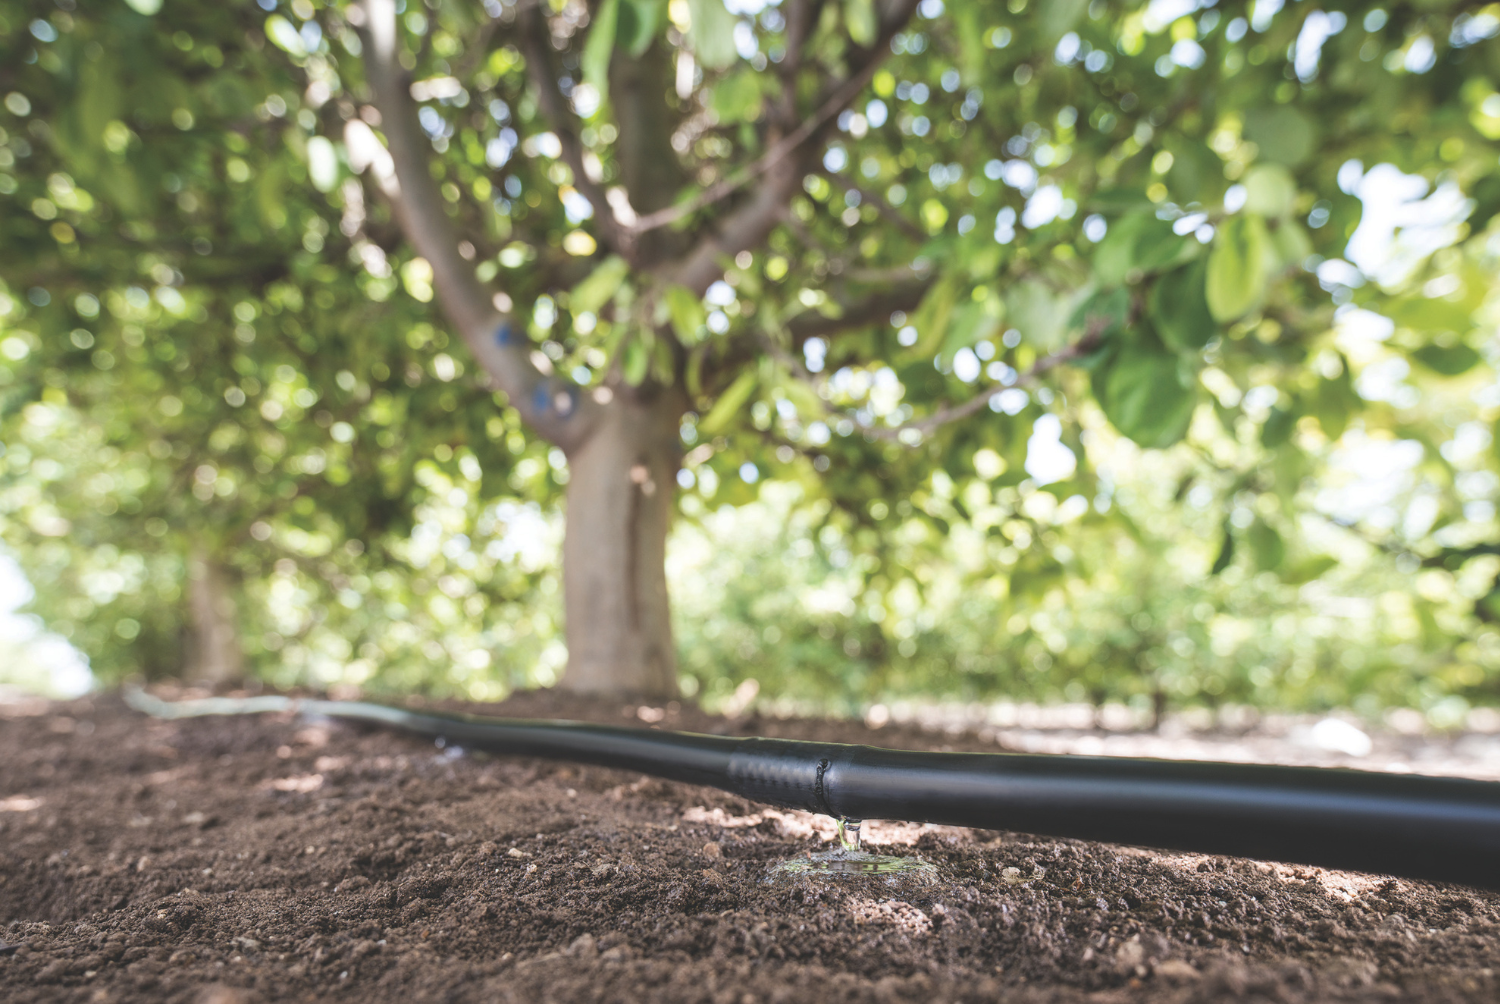
Water is, without exaggeration, the very lifeblood of the countryside. But we all know that every drop counts… and increasingly so. Drip irrigation was developed in response to that need: to water precisely, without wastage, exactly where the plant needs it.
Imagine a doctor administering exactly the right medicine in the correct dose: that’s what drip irrigation does for your crops. And the truth is, with droughts becoming more severe every year, it’s not just a good idea… it’s almost a lifesaver.
What’s more, it’s a system that combines efficiency and sustainability, as you save water and fertiliser whilst improving the health of your plants.
How does drip irrigation work?
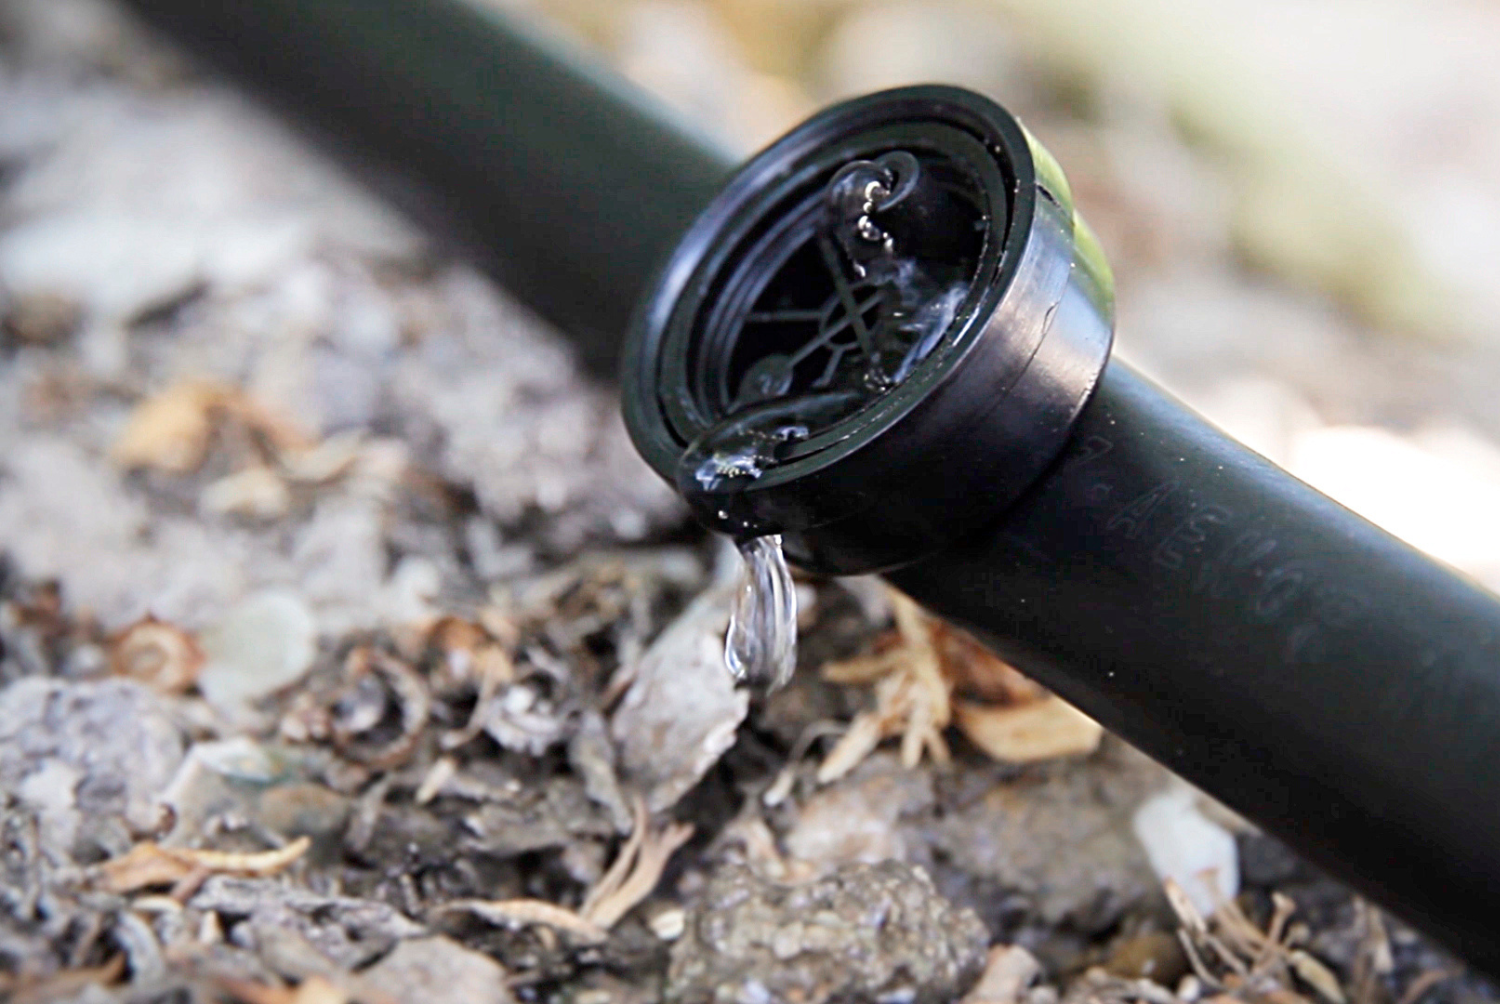
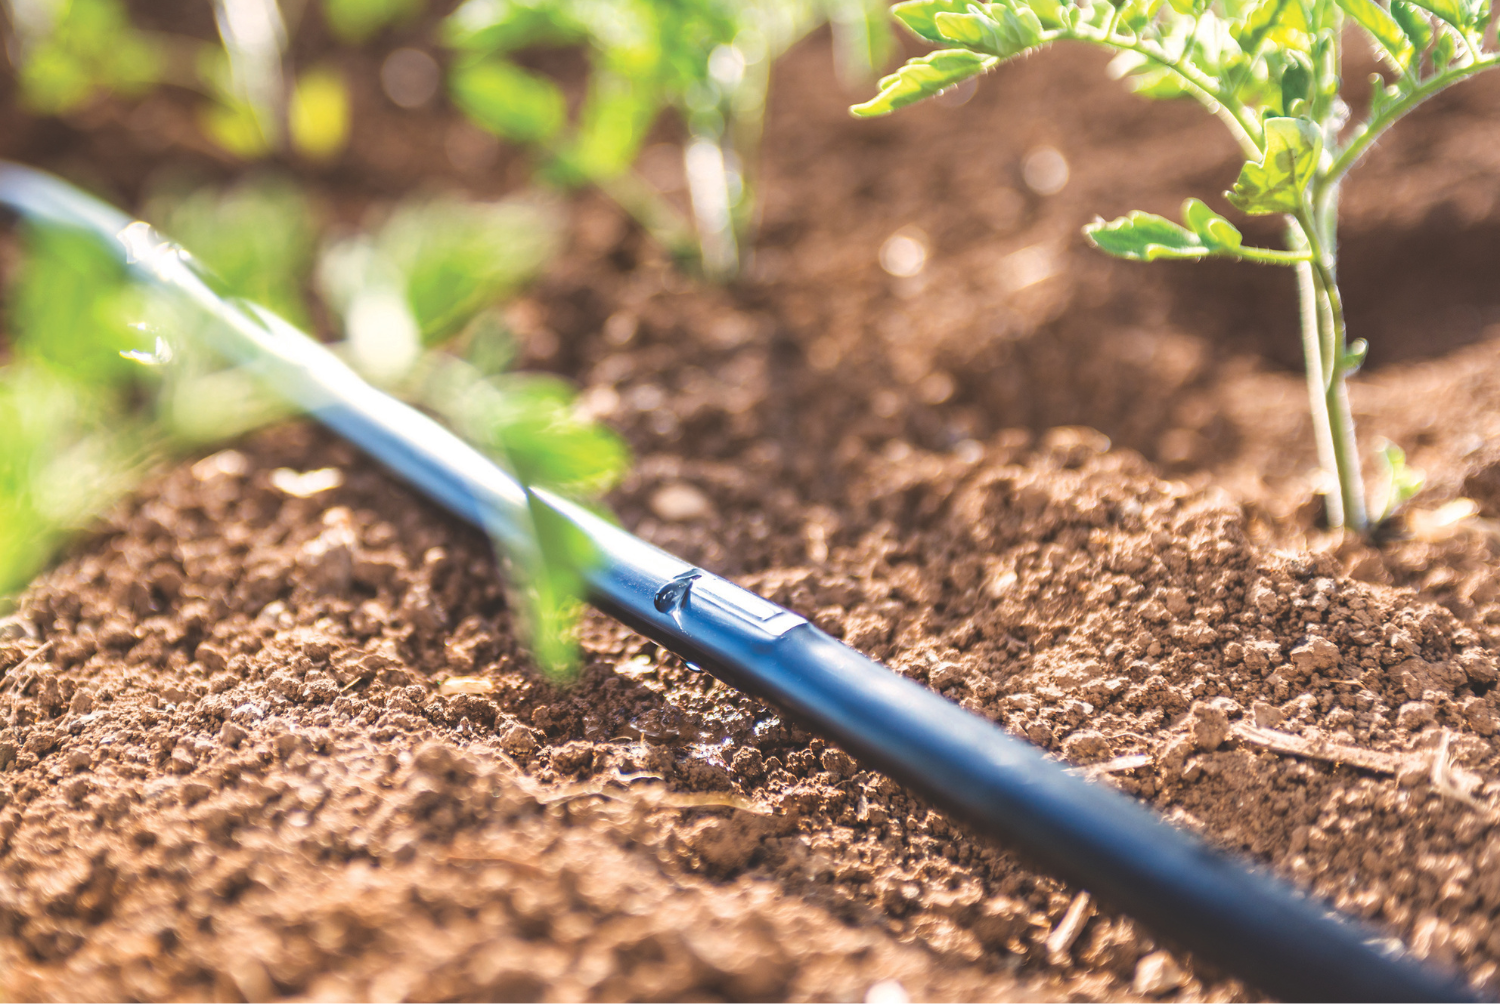
The system delivers water directly to the roots via pipes, drippers and pressure regulators. It’s like a circulatory system for your plants: each dripper is an artery that delivers the exact amount of water.
Main components
- Main and secondary pipes: These carry water to each row or plot
- Drippers: These regulate the amount of water delivered at each point
- Filters: Prevent particles from blocking the drippers
- Control valves: These allow sections of the system to be opened or closed
- Moisture sensors (optional): These detect when the plant needs water, preventing unnecessary watering
Types of drip irrigation
- Localised drip irrigation: Each plant receives its exact dose of water
- Drip irrigation using tape or hose: Ideal for row crops such as vegetables or strawberries
- Buried drip irrigation: Installed underground, it reduces evaporation and prevents damage caused by animals or machinery
Advantages and disadvantages of drip irrigation
Advantages
- Water savings: Up to 50 per cent less than other systems
- Efficient fertigation: Applies nutrients directly to the roots
- Weed control: Water does not reach the rest of the soil
- Versatility: Suitable for everything from small gardens to large-scale crops
- Better control of production: Enables growth to be optimised according to species and season
Disadvantages
- It requires regular maintenance to prevent blockages
- Higher initial cost than traditional systems
- The water pressure must be properly regulated
- Requires initial planning: system design and flow rate calculations
Comparison of drip irrigation systems
| System | Type of Use | Automation | Water Consumption | Maintenance |
|---|---|---|---|---|
| Basic Manual | Small gardens | Not automatic | Moderate | Bass |
| Automatic Timer | Gardens and vegetable patches | Digital timer | Bass | Medium |
| Solar Drip Irrigation | Small-scale farming | Solar energy | Very low | Medium |
| Professional System | Extensive farming | Centralised control | Very low | Medium-High |
| Smart IoT Irrigation | Large gardens | App + weather sensors | Very low | Medium-High |
Comments on the comparison
- Automatic systems mean you don’t have to worry about watering every day, which is a great advantage for those who are short of time.
- Solar and IoT systems are ideal for remote locations or for those who want precise and sustainable control.
- Professional systems are designed for large areas where every drop counts and maintenance is ongoing.
Factors to consider when choosing the best system
Size of the plot
An urban garden does not have the same requirements as 10 hectares of olive trees. Properly scaling the installation avoids unnecessary costs and ensures uniform watering.
Type of crop
- Vegetables: require frequent and even watering
- Fruit trees: they can cope with less frequent watering, but need longer watering sessions
- Lawns and ornamental plants: these require extensive coverage and a regular watering schedule
Weather conditions
- Dry areas: automatic systems with sensors or underground irrigation reduce evaporation
- Wet areas: manual control may be sufficient
Budget and return on investment
An automated system may seem expensive at first, but the savings on water, fertiliser and time mean it pays for itself quickly. It also improves the consistency of production.
Practical installation and maintenance
Step-by-step installation guide
- Draw up a plan of your plot and identify the irrigation zones
- Lay the main and secondary pipes
- Fit drippers and pressure regulators according to the needs of each plant
- Connect it to the water supply and test the whole system
Maintenance tips
- Check and clean the filters every 2–3 weeks
- Flush the pipes at the end of each season
- Check for leaks and blockages regularly
- Adjust the flow rate according to the season and the plants’ growth
Common mistakes when installing a drip irrigation system
- Do not calculate the water pressure
- Fitting drippers with an inappropriate flow rate
- Do not fit control valves for separate sections
- Failing to clean filters and pipes regularly
Frequently asked questions about comparing irrigation systems
Which is the most efficient system?
Automatic watering with weather sensors is the best. It adjusts the water supply according to the actual soil moisture levels and prevents wastage.
Does drip irrigation reduce water bills?
Yes. And not only does it reduce them, it also gives you peace of mind in areas where there are restrictions.
Can I install it myself?
Of course. With home kits, you can have it up and running in an afternoon.